In this tutorial i will show you how to create, move and animate eyes in Photoshop. I am using Photoshop CS3 and if i am not wrong you can do this in Photoshop earlier versions also (atleast in CS ver ).
Lets start this tutorial .
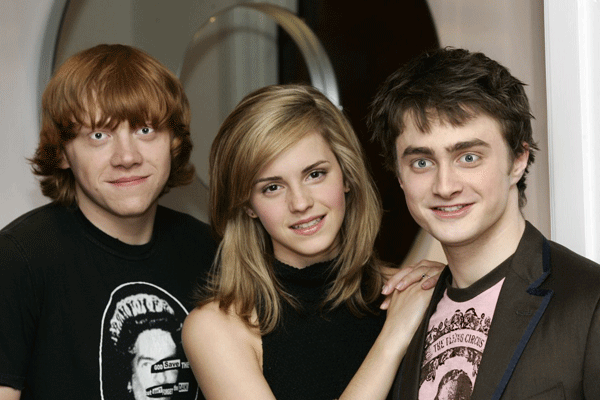
First
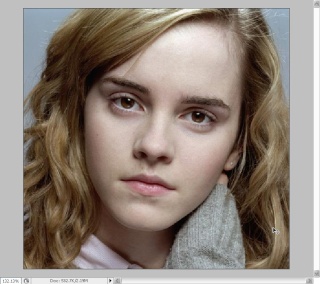
open an image in photoshop, make sure the eyes of the image you took is
clear and visible. Here is the image i am using for this tutorial.
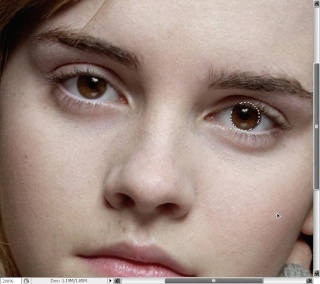
Step.1 Create a selection of pupil and copy it to the new layer. Temperoraly hide this layer.
Step.2 Now make the selection of eye balls using any one of these tools ie pen tool, lasso tool or paint (using quick mask mode).
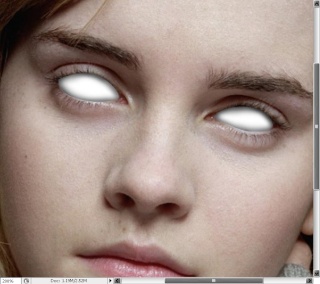
Step.3 Create a new layer and fill the selection with white color.
Step.4 Use the "Burn" tool to create highlights and shadows for that filled layer, as show in the image below.
Settings for "Burn tool"
After applying Highlights using "Burn- tool".
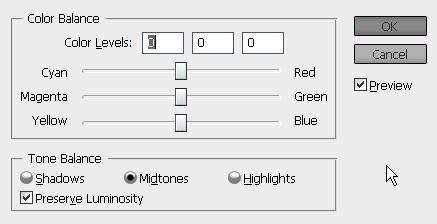
Step.5 Open
color balance under Image >Adjustments > color balance, apply
some green and blue to match the color of the eyeballs.(Move the slider
to magneta and yellow to perfectly match the colors, you can also use "levels").
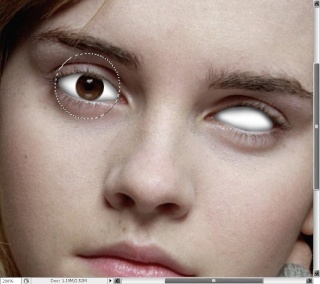
Step.6 Now unhide the 'pupil' layer, highlight the selection of that layer and make another copy of it by holding Alt key (option key in MAC) and place it on other eye ball.
Here is the finaly image, after copying the pupil from one eye to another one. Step.7 Make the pupil layer as a ' clipping mask ' to the eye-ball layer (eye-ball= the layer we have filled it with white).
After completing step.7, you can move eyes.
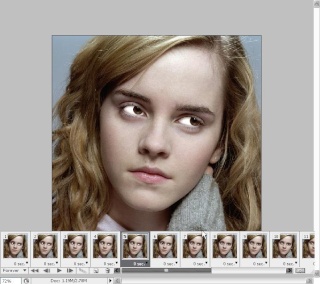
Final Step. Open the animation palate under windows menu and create an animation by moving the eye.
Here
is the final output after creating animation and by following these
steps you can create some cool animation like the one shown in the
image below.
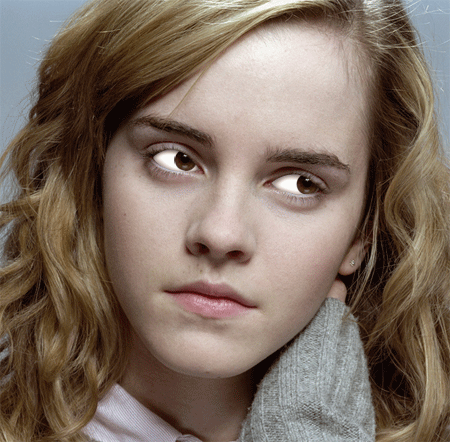
Here is another example.
I hope that you have enjoyed this tutorial, I'll meet you later with another nice tutorial, have fun
Екипът на PSWORLD Ви благодари за проявения интерес!
Призоваваме Ви да оставяте своите коментари за публикуваните уроци и новости.Пишете ни за Вашите проблеми и успехи в усвояването на Фотошоп. Публикувайте резултатите от Вашите опити. Така ще ни помогнете да се развиваме в правилната посока!
Общо коментари: 0
Качи картинка:(копирай кода на "Thumbnail за Форуми" и го постави във формата за отговор)
Само регистрирани потребители могат да оставят коментари. [ Регистрация | Login ]