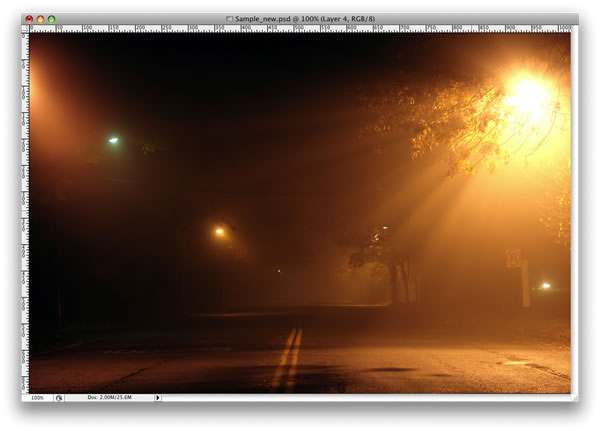
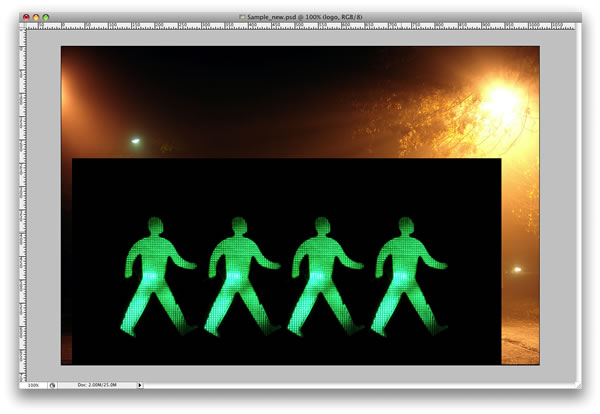
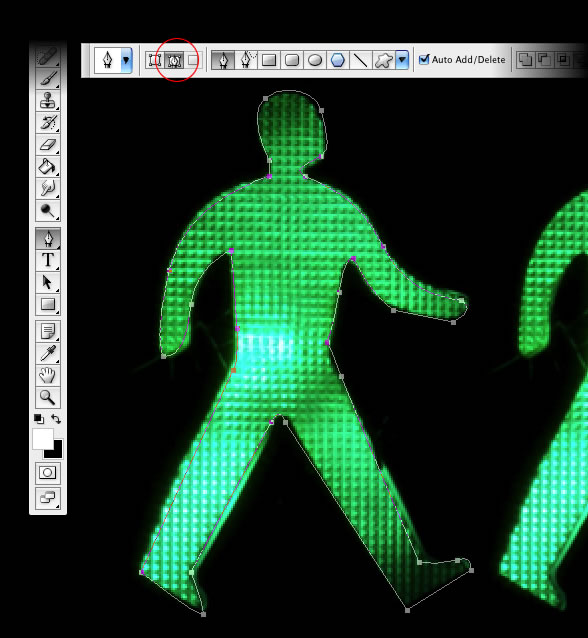
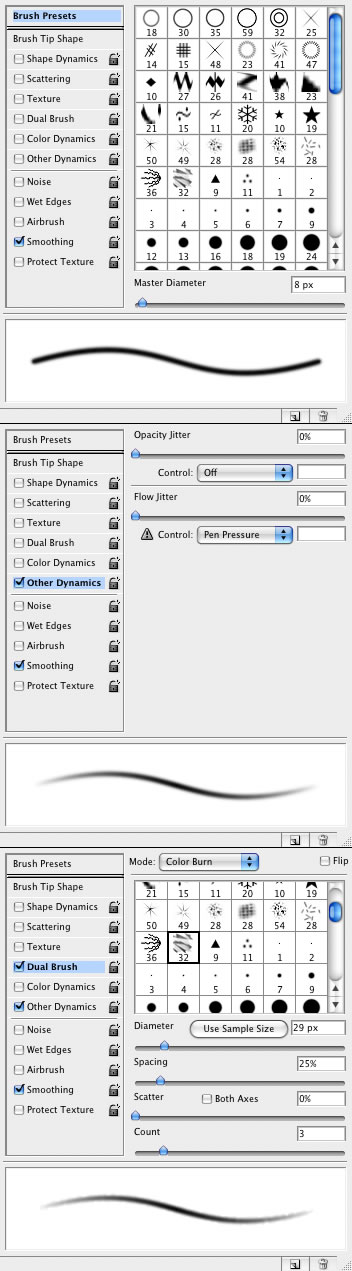
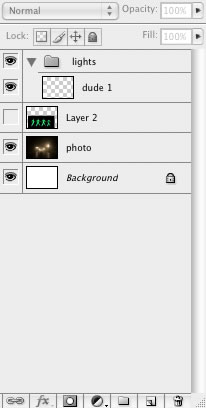
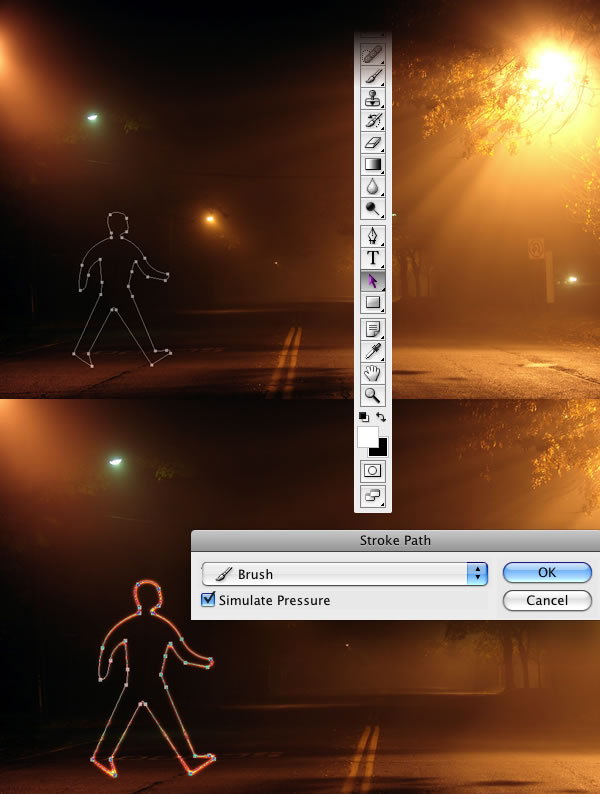
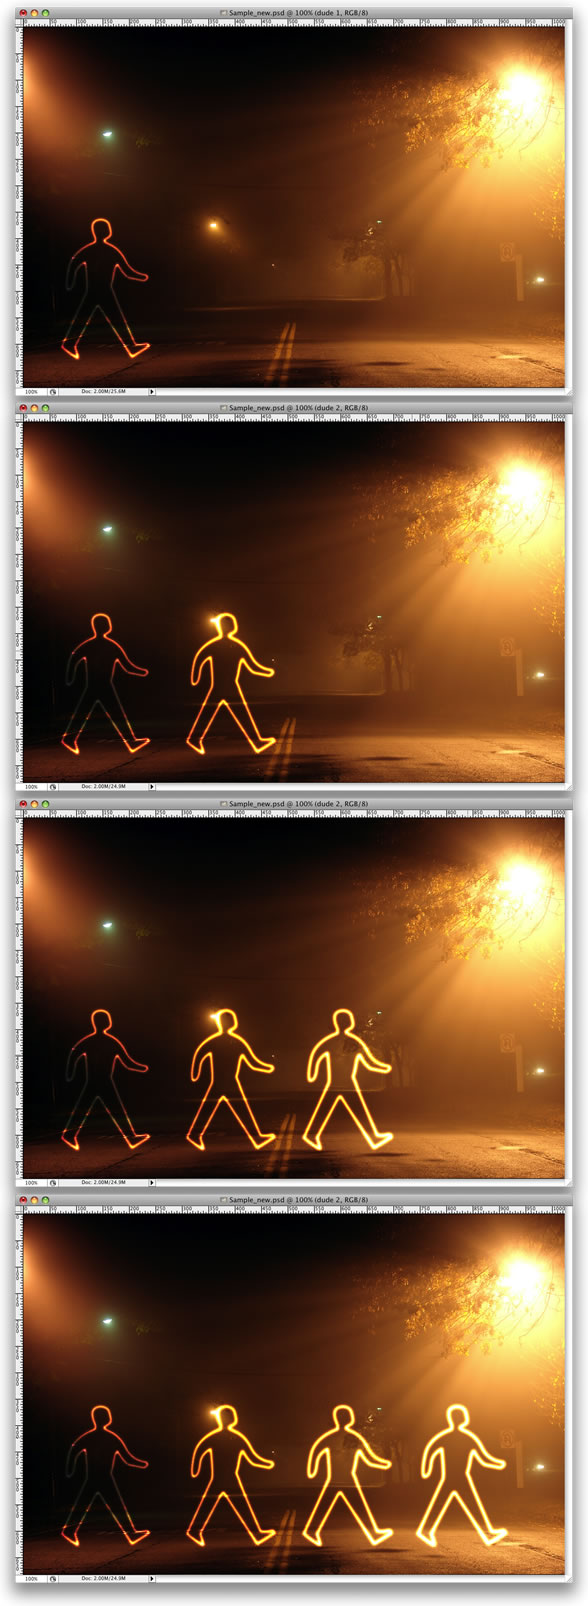
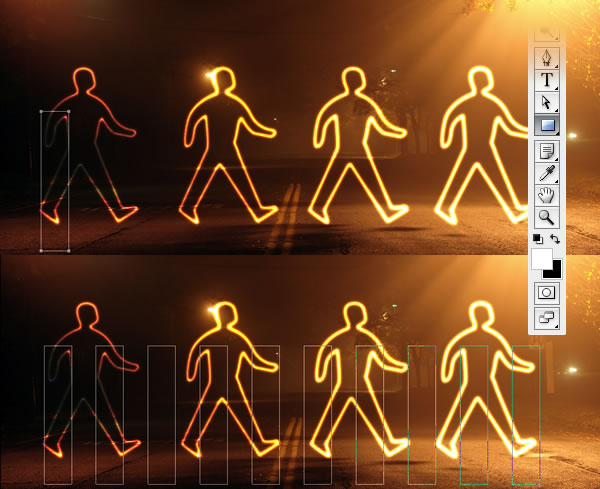
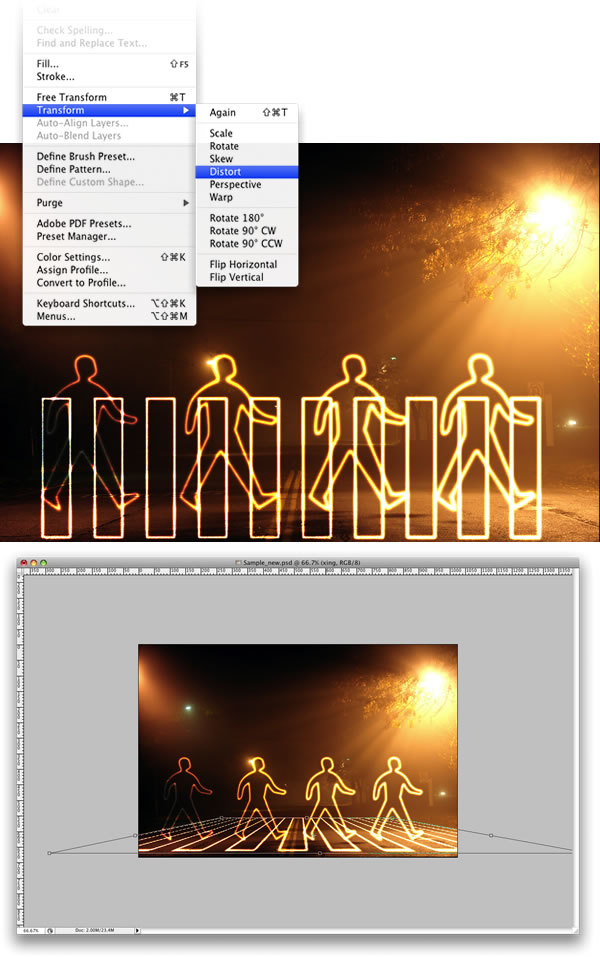
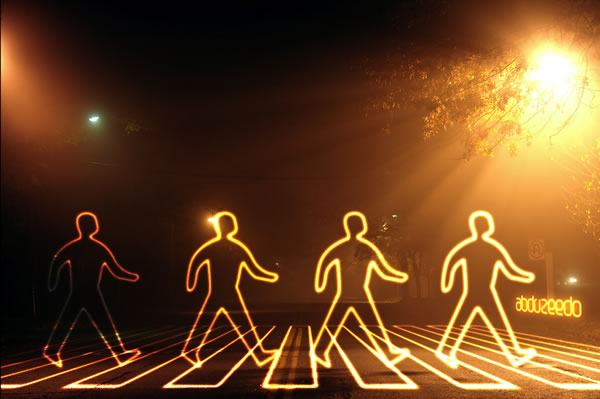
Step 1Create a new document and place the photo, you can download the one I used at: Photo 1. Step 2Here I placed a second image. I will use it to create the light effects. Here is the link for the next image: Photo 2. Step 3With the Pen Tool(P), create a path for one of the figures. Step 4Select the Brush Tool(B) and go to Window>Brushes or F5 to create our brush. Use 8px for the diameter and select Dual Brush and Other Dynamics. Follow the image below for reference. Step 5Go to the Layer Palette, create a new folder, and rename it to lights. After that create a new layer inside this folder, name it "dude", and select it. Step 6Go to the Path Palette and select the first path. Then with the Path Selection Tool(A), select the path and right-click. Choose Stroke Path. A dialog box will open; select the brush and use Simulate Pressure. After that go to Filter>Blur>Gaussian Blur, use 1.6px for the amount. Step 7Duplicate the "dude" layer three times. Step 8Select the Rectangle Tool (U) and create a rectangle. Then duplicate the rectangle several times. After that align and distribute them horizontally. Step 9Create a new layer inside the lights folder. Rename it to "xing". Repeat Step 6 and Stroke the paths. After that select the "xing" layer and go to Edit>Transform>Distort. Now just move the vertices until the perspective is good—just follow the street lines. ConclusionThat's probably the easiest way to create this type of light effect; however, it depends on the color of the background. If the background is too dark, the blend mode won't work. You'll probably have to use another one with an Outer Glow. You can make the lights brighter by just duplicating the layers. You can even use the Eraser Tool(E) to make some adjustments. The original concept image can be viewed at Light Graffiti In Photoshop. The final tutorial image is below.
|